Ready to learn how to make milk kefir? It is super easy when you follow our step-by-step directions to guide you through the process. If you are wondering what the heck kefir is, it is a delicious and versatile beverage you can use in a multitude of ways. Use it to make amazing yogurt and ice cream or create some probiotic-rich baked goods by including it in one of your recipes. The sky is the limit when using kefir to enhance your daily diet. Even the pickiest of eaters will love the way it tastes. Time’s a-wasting! Let’s get started on making your first batch.
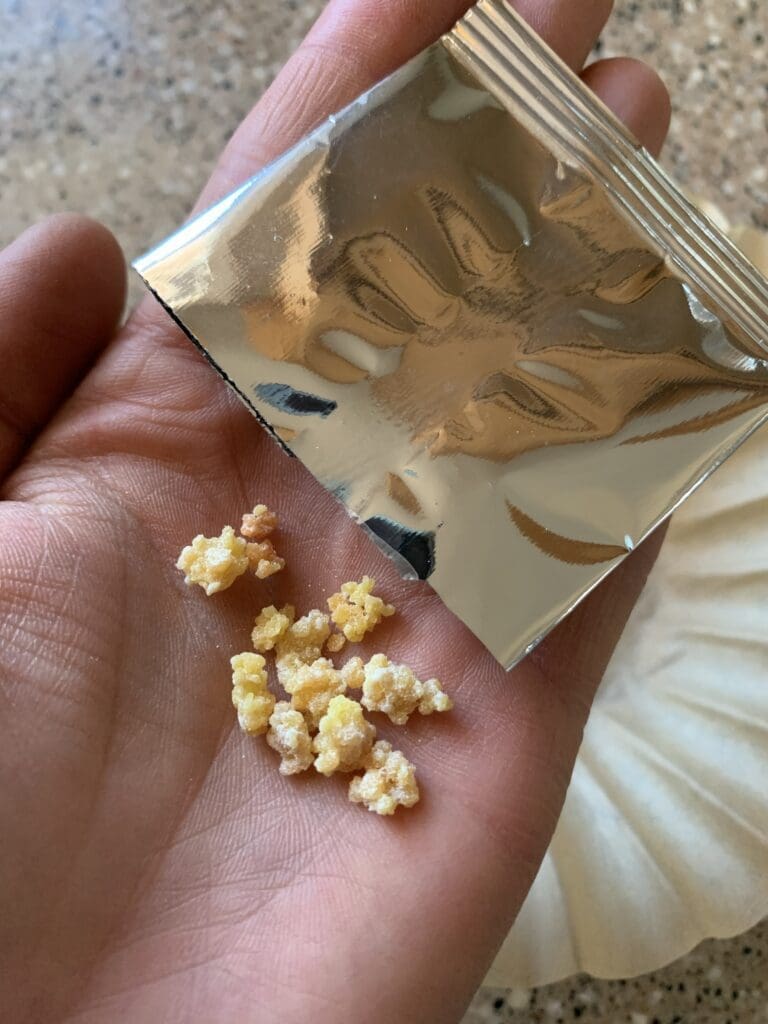
What you’ll need to make milk kefir
Before you get started, there are some basic instructions to go over to ensure you have everything you need. First, you will need a starter culture called milk kefir grains. This starter kit can be used with either raw milk or water. We use it with raw milk from our Jersey cow. As a powdered culture, you can re-culture it a few times, making it a great choice for beginners. So, if you mess it up the first time, just try again. We use starter culture from Cultures for Health. They have a great video on their website if you need a visual on how to activate your grains.
Just a note of caution: Cultures for Health advises people to use pasteurized milk with its starter culture for the best results. I assure you it works well with raw milk. I make starters from our raw Jersey cow milk all the time with great success. So, don’t be afraid to use raw milk if you have it and prefer it.
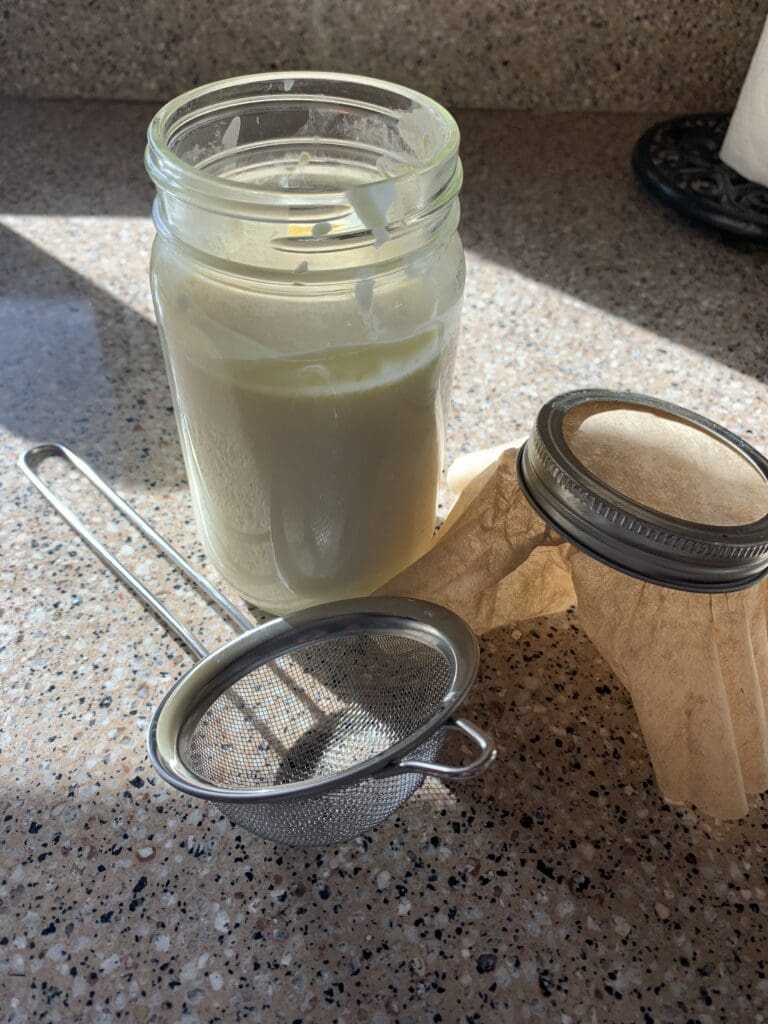
Equipment
- A glass jar.
- A non-metal stirring utensil.
- A breathable cover for the jar (paper towel, paper coffee filter).
- A rubber band or canning jar ring to secure the cover.
- A fine mesh plastic strainer to remove the grains from the finished product.
Ingredients
- One packet of dehydrated milk kefir grains.
- Raw Jersey cow milk.
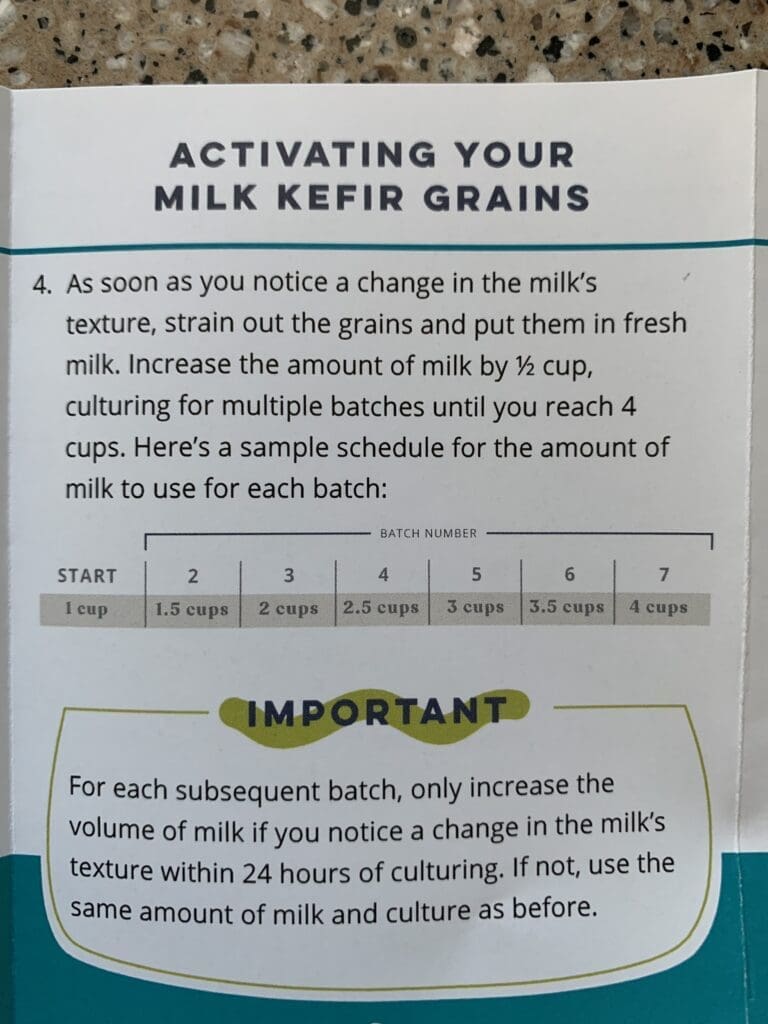
Activating the grains – step-by-step
Making kefir for the first time can be intimidating. To help ease the process, here is a step-by-step guide, complete with pictures.
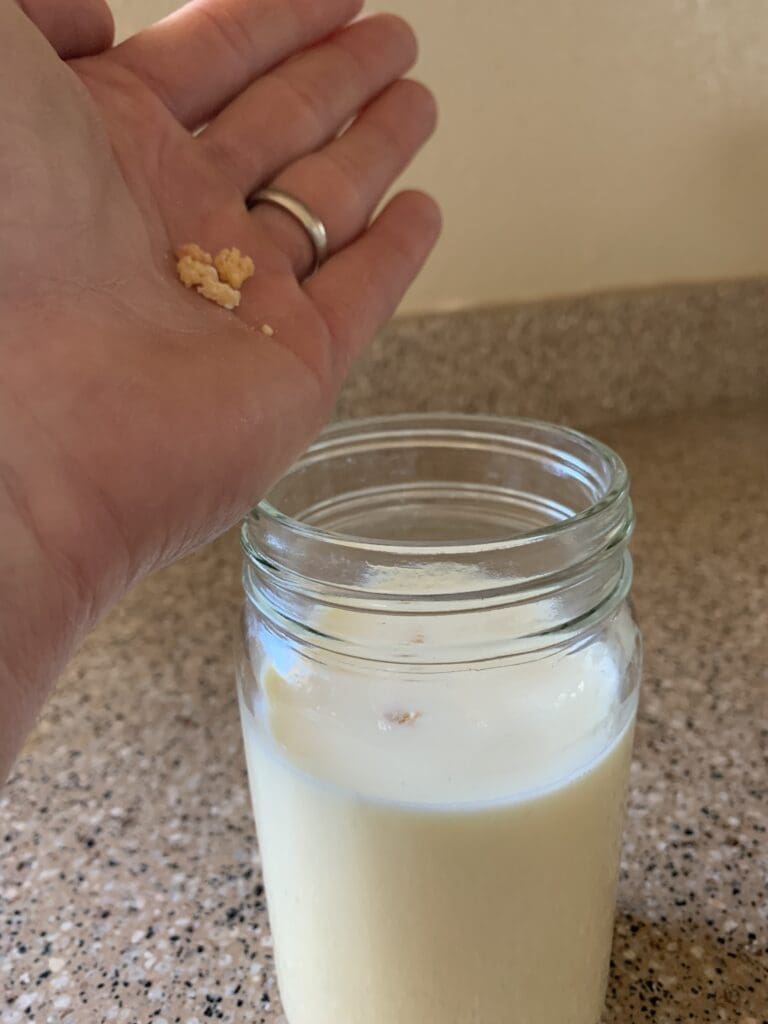
Step 1: Empty the starter culture packet into a glass jar and add 1 cup of raw Jersey cow milk. Stir gently.
Step 2: Cover the jar with a paper coffee filter or other breathable material and secure it with your rubber band or canning jar ring. This keeps out bugs and any other unwanted critters that might be interested in trying out your starter culture.
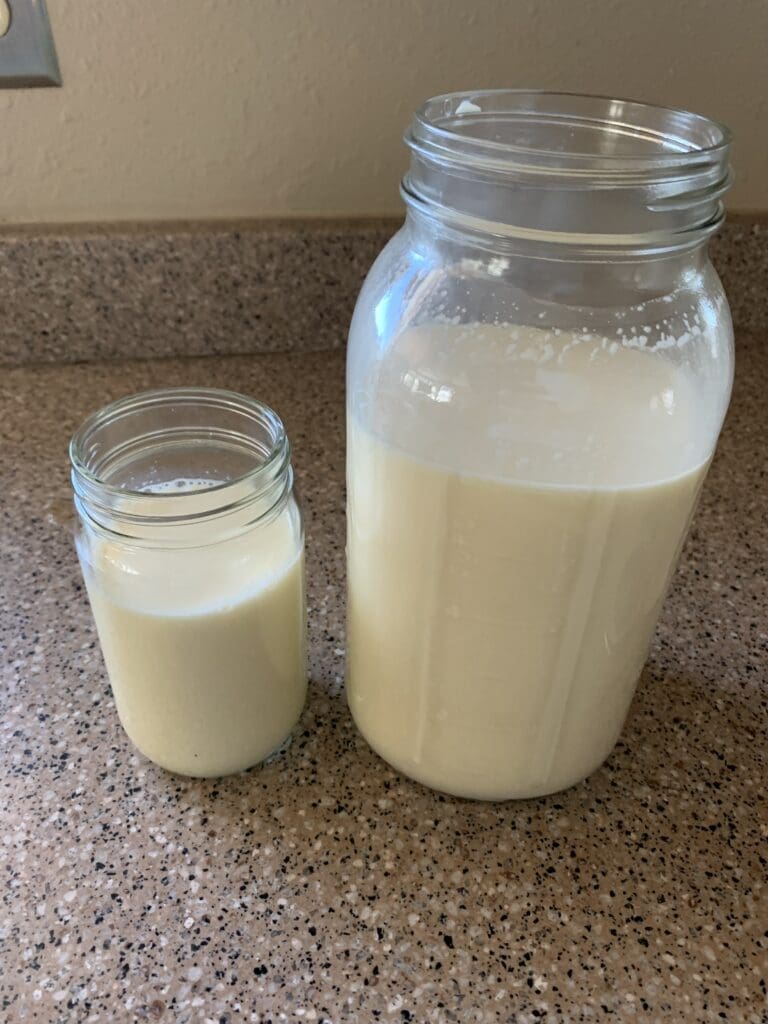
Step 3: Find a spot in your house where the temperature consistently ranges between 68-and-85 degrees Fahrenheit. Leave the jar in this spot and be prepared to check back on it when it is time.
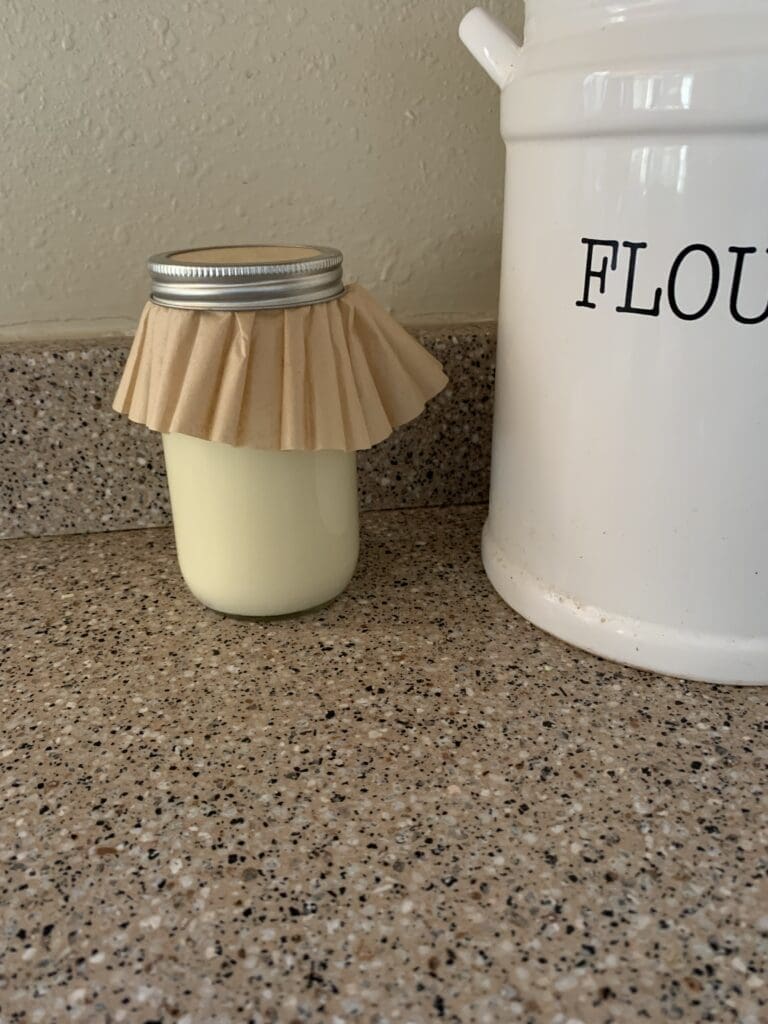
Step 4: At the 8-hour mark, check your milk. Tip the jar back and forth to check for a change in the texture. It should thicken a bit. If it has started to change, strain out the grains. DON’T THROW THEM OUT! You can use them for another starter if you do it right away. If you use them again, increase the milk amount by half a cup.
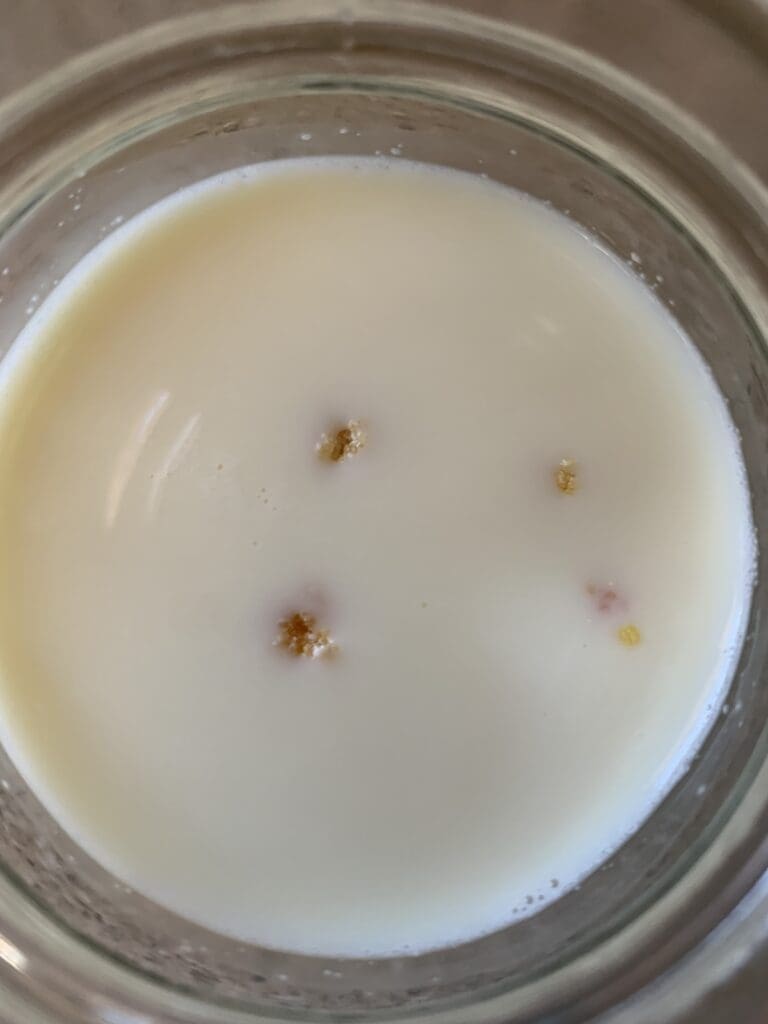
Step 5: If there is no change in the texture of the milk by the 24-hour mark, strain out the grains and put them into fresh milk, and start the process over from step 1.
It can take between 3 and 7 days for activation to happen. If you follow the above steps, your batch size should increase in half cup increments to reach a total batch size of 4 cups.
Raw Jersey cow milk recipes
Once you have your kefir, check out all the recipes on our Raw Milk Recipes page for ideas on how to use it. I would love to see your kefir creations. Post them in the comments!
In our kitchen, we only use cultures from Cultures for Health.
Get yours here and start culturing today.
Popular Articles
Newsletter
Get signed up to get latest updates and new information from the Jersey Milk Cow!
This site uses Akismet to reduce spam. Learn how your comment data is processed.







Leave a Reply