
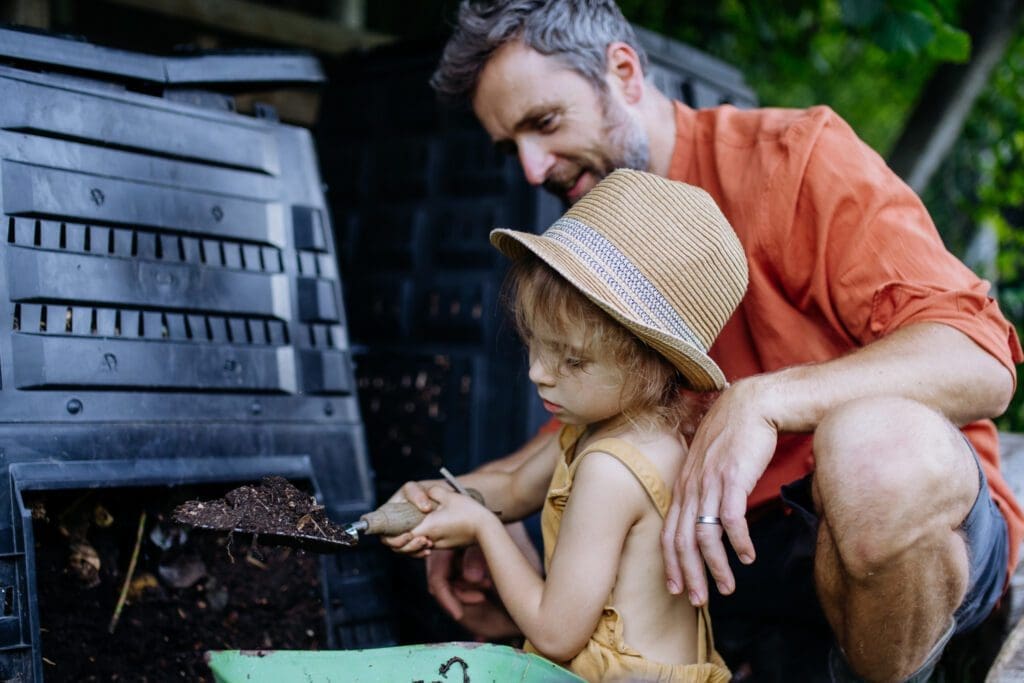
Composting is one of the most eco-friendly ways to dispose of organic materials. Instead of tossing those banana peels and potato peelings in the trash, you could be using them to make nutrient-rich soil to help your homestead garden grow.
Learning how to compost is a right of passage for most homesteaders who pride themselves on becoming self-sufficient. Composting is a simple and rewarding process that benefits you, your plants, and the environment.
In this complete guide on how to compost, we explore:
- What is composting?
- What are the benefits of composting?
- Why is learning how to compost important?
- What materials can you compost?
- How do you start composting?
- What are some common composting problems?
- How do you harvest your compost?
What is composting?
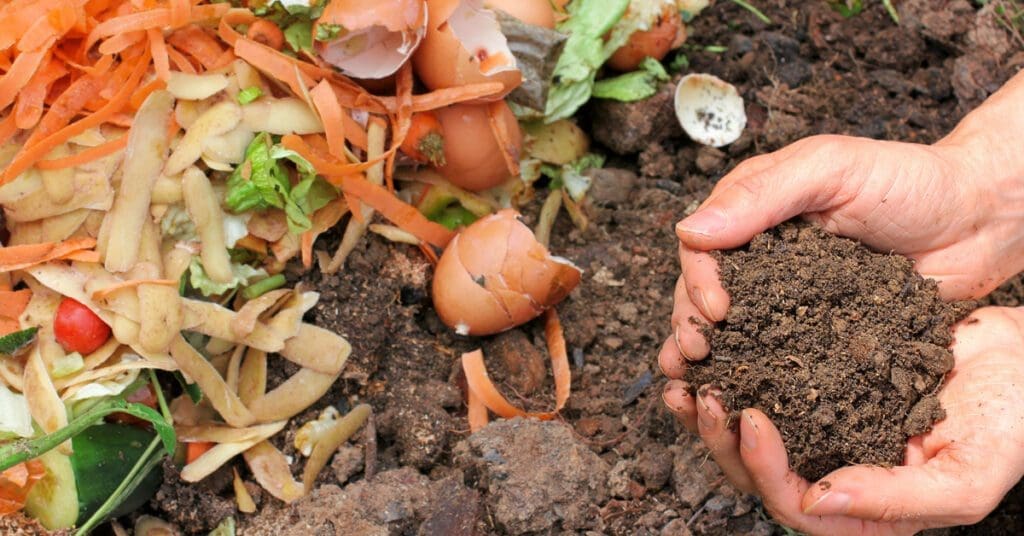
Composting is a natural process to break down organic matter like food scraps, yard waste, and other biodegradable materials. Breaking down these materials creates nutrient-rich soil you can use for gardening and farming on your homestead.
Microorganisms like bacteria and fungi turn organic material into a dark, crumbling substance called compost. It’s a sustainable and eco-friendly way to manage organic waste, reduce greenhouse gas emissions, and create healthy soil for plants.
Types of composting
There are three types of composting. Each method has its pros and cons. Choose the one that works best for your homestead.
- Cold composting is a slow and passive method that involves layering organic materials like food scraps and yard waste in a bin. If you need compost quickly, this isn’t the best method to use. You may want to explore hot composting instead. Homesteaders with limited time and space prefer cold composting because it’s less labor-intensive. However, it takes a few months to get compost using this technique.
- Hot composting works much like cold composting. The main difference is it relies on high temperatures to break down organic matter quickly and efficiently. You layer organic materials in a pile or bin, turning them regularly and keeping them moist to promote the growth of microorganisms that break down the materials. Hot composting gets you usable compost within a few weeks when done correctly.
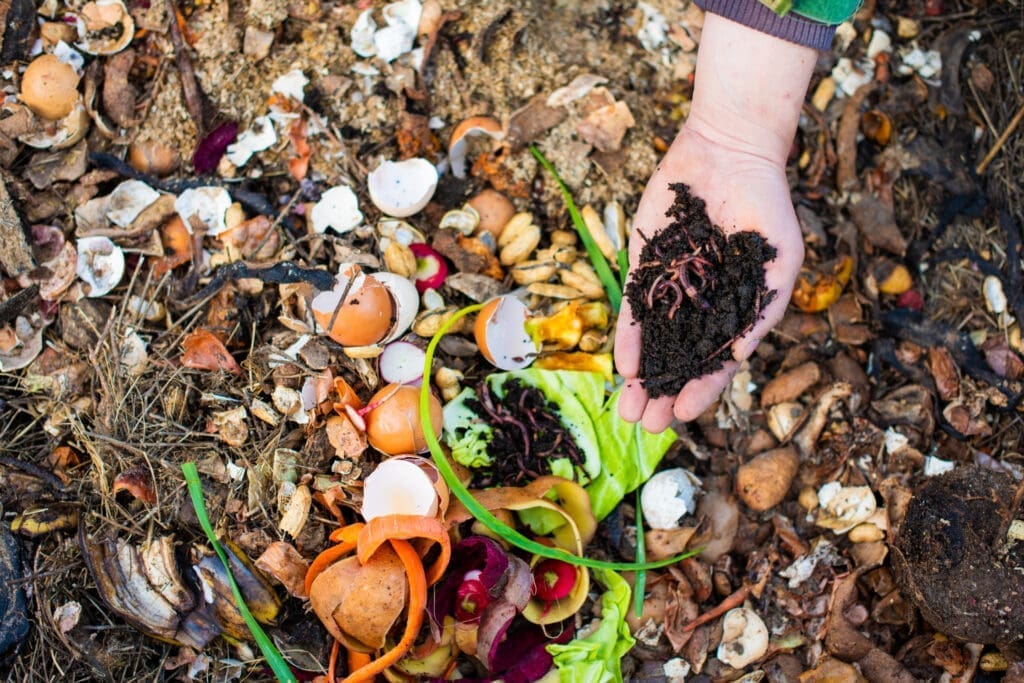
- Vermicomposting uses earthworms to break down organic matter into nutrient-rich soil. You layer your materials in a bin and add a few red worms to the mix. As the worms eat the organic matter, they excrete “worm waste” that’s rich in nitrogen, phosphorous, and potassium – the three essential ingredients for plant growth. If you have limited outdoor space or need to compost indoors, this is the best method to accommodate your needs. It can take 2 to 6 months to produce compost using this system.
What are the benefits of composting?
Composting does more than help you become more self-sufficient (although that is a popular draw for most homesteaders). If you invest the time and energy into learning how to compost, you’ll reap numerous rewards.
- Reduce waste. Learning how to compost reduces the amount of organic waste that ends up in landfills, where it produces harmful methane gas.
- Improve soil health. When done correctly, composting produces nutrient-rich soil you can use to grow healthy plants and food on your homestead. Compost improves soil structure, water-holding capacity, and aeration.
- Save money. Reduce your need for fertilizers and pesticides when you improve the health of your plants and crops using high-quality compost.
- Protect the environment. Composting reduces greenhouse gas emissions, conserves water, and promotes biodiversity by supporting healthy soil ecosystems.
- Support local food systems. If you make more compost than you can use, consider donating it to an urban or community garden nearby.
Why is learning how to compost important?
Besides the obvious benefits of saving money and the environment, there are other reasons why learning how to compost is important for homesteaders.
Composting is an easy way to connect with nature. Most homesteaders love living off the land and have a longstanding respect for their local ecosystem. When you learn how to compost, you educate yourself about the natural cycles of food and waste and contribute to a healthier planet.
Learning how to compost is empowering. Your actions directly affect the sustainability of the natural environment and produce a positive impact on your community.
What materials can you compost?
The list of materials you can compost is long. Basically, any organic material breaks down under the right conditions in your compost bin or pile. Here are some of the most common organic materials homesteaders add to the mix:
- Coffee grounds and filters.
- Dry leaves and grass.
- Eggshells.
- Fireplace ashes (in small quantities).
- Fruit and vegetable scraps.
- Hay and straw.
- Hair and fur.
- Manure from herbivorous animals (cows, horses, rabbits).
- Nutshells.
- Plant trimmings and prunings.
- Sawdust and wood chips.
- Seaweed and kelp.
- Shredded paper and cardboard.
- Yard waste.
Not all organic materials are appropriate for your composting bin. Some materials, like meat, dairy, and oily foods, attract pests and create bad smells.
You’ll also want to avoid composting any materials treated with pesticides or herbicides because they can harm the microorganisms essential for the composting process.
How do you start composting?
When you’re ready to start composting, you’ll need to decide on a few things before jumping in. You must choose a location for your composting bin or pile, build or buy a bin if you’re using one, layer and mix your composting materials, and maintain your compost bin or pile.
Let’s break down each of these steps to ensure you have the information you need to succeed.
Choose a location
Choosing the best location for your compost bin or pile is an essential part of the process. Follow these tips for the best results.
- Choose a level, well-drained area to prevent water-logged compost.
- Consider the proximity to your house. Putting a composting bin near your kitchen or garden makes it more convenient to toss in scraps and get out compost for use.
- Ensure adequate air circulation to help break down organic matter.
- Provide some shade to keep the bin from drying out too quickly, especially during hot weather.
- Consider neighbors and pests. Flies and rodents love organic matter that’s breaking down. Make sure you keep your bins away from neighboring properties.
- Follow local regulations for composting that include the minimum distance required between compost bins and property lines. Check with your local municipality or waste management authority for guidelines.
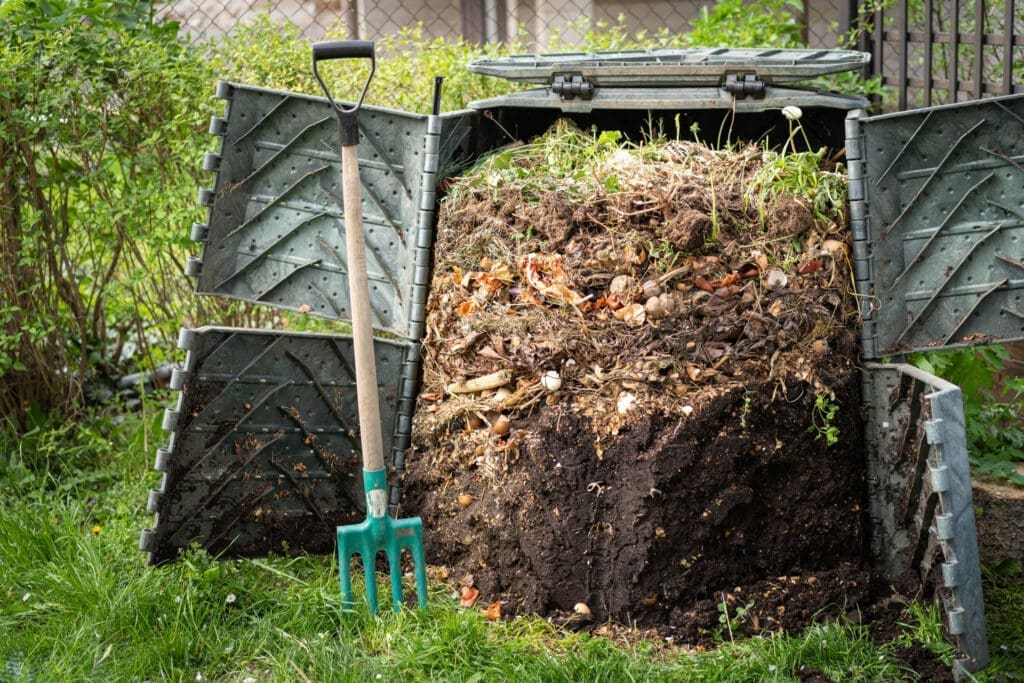
Build or buy a compost bin
You can buy compost bins online or in your local home and garden store. Some municipal waste companies also offer them as part of a recycling and reuse program.
Building a compost bin is a simple and affordable DIY project. Here are some of the steps involved:
- Choosing a design that suits your needs and budget.
- Gathering the materials needed to build your structure.
- Build the frame first, leaving gaps between wooden planks to allow for proper air circulation.
- Add a lid to regulate the temperature and moisture levels in the compost. Hinged lids are more complex but improve the bin’s functionality.
- Add a door to make composting and harvesting easier. All you need is a simple opening in one of the bin’s sides to fit the bill.
Layer and mix compost materials
Layering and mixing your compost materials is an important part of making quality compost. You’ll want to strike a balance between green materials like fruit and vegetable scraps, with brown materials like leaves and twigs, to create a nutrient-rich compost.
For the best results, follow this layering method:
- Start with a layer of brown materials like leaves, twigs, and shredded paper.
- Add greens like fruit and vegetable scraps, coffee grounds, and grass clippings.
- Add in some water to make the layers moist but not waterlogged.
- Repeat the layers.
Keep the compost moist and aerated by turning it regularly.
Maintain and compost
Once you’ve layered and mixed your compost materials, you’ll want to monitor their progress and maintain the mix.
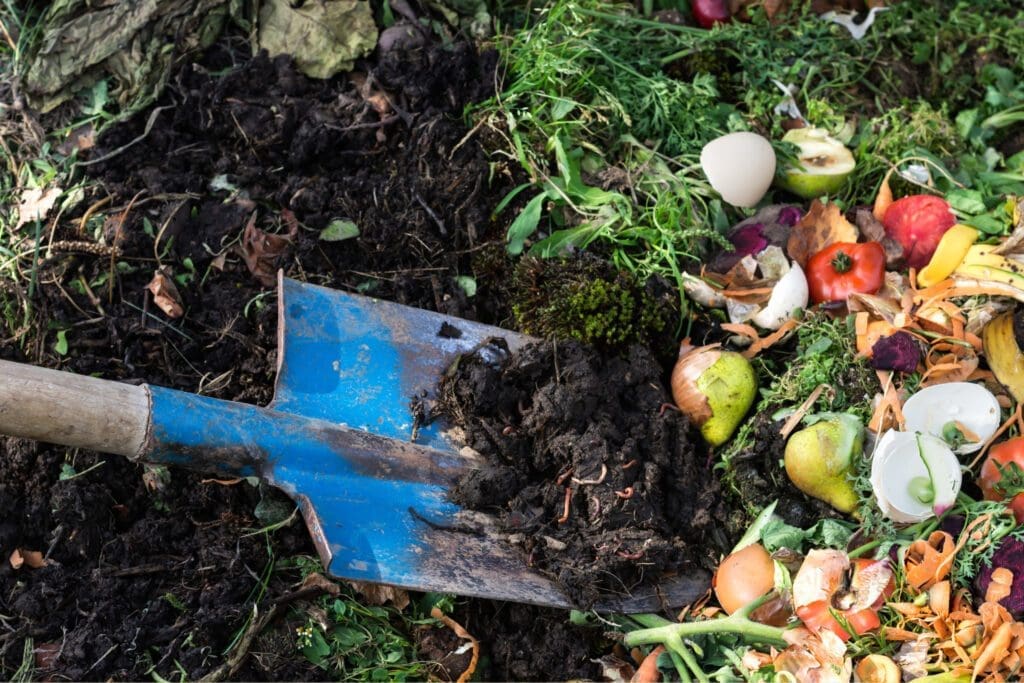
To help compost break down more quickly and evenly, you must mix or turn it regularly. Use a garden fork or compost aerator tool to make sure moisture and oxygen are mixed evenly throughout the compost.
Monitor the temperature. As organic materials break down, they generate heat. Use a compost thermometer to make sure the internal temperatures stay between 130- and 160 degrees Fahrenheit. If the temperatures get too high or too low, turn the compost more frequently.
What are some common composting problems?
Learning how to compost is a great way to reduce waste and become more self-sufficient on your homestead. However, we’d be remiss if we didn’t warn you about some of the common problems you can encounter (and how to address them).
- Foul odor. Composting should never stink. If your compost has a strong, unpleasant odor, it may be too wet or have too many nitrogen-rich materials like food scraps in it. Add more brown materials like leaves or shredded paper to balance the carbon-to-nitrogen ratio.
- Pests. Ants, fruit flies, and rodents love your compost bin. To keep them less attracted to it, avoid putting any meat, dairy, or oily foods in the bin. Bury any food scraps under a layer of brown materials to further discourage pests.
- Slow decomposition. If your compost doesn’t break down as quickly as you’d like, it may be too dry or not getting enough oxygen. Add some water and turn the compost more frequently.
- Overheating. When your compost gets too hot, it can kill off the beneficial microorganisms. Mix more brown material into the bin and turn the compost more frequently to balance the carbon-to-nitrogen ratio.
Addressing these common issues creates a healthy and productive compost pile your garden plants and crops will love.
How do you harvest your compost?
Harvesting your compost is the most rewarding part of the process. You’ll get to see the fruits of your labor (no pun intended) when you remove and spread that nutrient-rich soil amendment in your homestead garden.
Here are some simple steps to follow when you’re ready to use your compost:
- Stop adding raw material at least a month before you plan to use it. This gives the composting process time to finish.
- Let the compost rest for a few weeks before harvesting it to ensure all organic materials are fully broken down.
- Remove the top layer using a garden fork or shovel to reveal the darker, crumblier compost beneath.
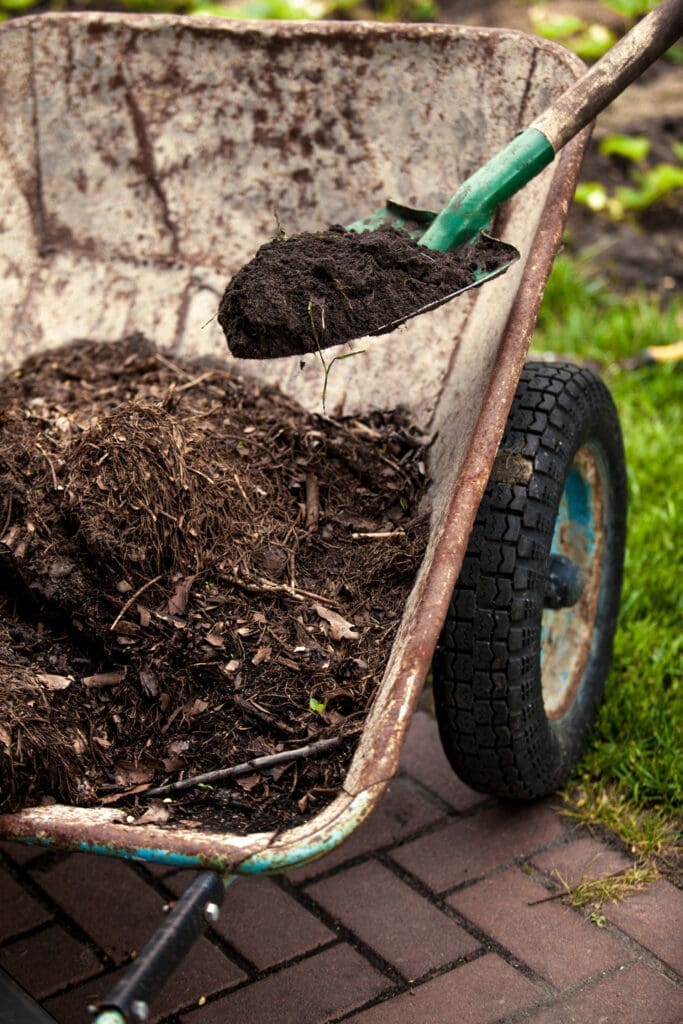
- Scoop the finished compost out of the bin and into a wheelbarrow or other container. Use a sieve to remove any large chunks or debris from the compost before spreading it in your garden.
- Store unused compost in a covered bin or container. It remains usable for several months.
Signs that compost is ready to use
Not sure your compost is “done?” Knowing when your compost is ready to use maximizes the benefits to your garden. Here are some of the tell-tale signs it’s ready to be spread in your homestead garden:
- It has a dark, crumbly texture that resembles soil.
- It has an earthy, natural smell like fresh soil.
- It has a cool temperature.
- It doesn’t contain any recognizable pieces of organic matter.
- It has plenty of worms and other beneficial organisms (applies to vermicomposting only).
Methods for harvesting compost
Several methods for harvesting compost exist. However, here are the three common methods most homesteaders prefer.
- Screen sifting is best for larger compost bins. It yields a fine, uniform compost. Use a screen or sieve that fits over your wheelbarrow or other container. Scoop compost into the screen and shake it gently to sift out any large chunks or debris.
- Tumbling is a quick and easy way to harvest compost from a compost tumbler. Simply turn the tumbler on its side and spin it, allowing the finished compost to fall out through the openings.
- Shovel and fork method works best with smaller compost bins and yields a coarser compost. You can break up any large clumps and remove visible pieces of organic matter with this method.
Using compost in your homestead garden
There are countless ways you can use compost in your homestead garden. Three of the most popular ways homesteaders apply compost include:
- Incorporating it into the garden soil. This is one of the simplest ways to use your compost. Before planting, spread a layer of compost on top of the soil and use a garden fork or tiller to mix it into the top 6 to 8 inches of soil.
- Applying it as a top dressing. For gardens with established plants and crops, use your compost as a top dressing by spreading a thin layer of it around the base of each plant. Be careful not to cover the stems or foliage. When done right, this suppresses weed growth and helps retain moisture.
- Making compost tea. Compost tea is a liquid fertilizer you make by steeping compost in water. Fill a bucket with water and add a scoop of finished compost. Let it steep for 1 to 2 days, then strain out any solids. Use the liquid to water your plants.
Learn how to compost today
Learning how to compost has numerous benefits for your homestead. You’ll become more self-sufficient and reduce your impact on the environment by reducing and reusing waste.
Follow the steps in this easy guide to get started today. Have questions? Ask them in the comments and we’ll do our best to help you out!
Happy composting!

Popular Articles


Newsletter
Get signed up to get latest updates and new information from the Jersey Milk Cow!

Excellent article on Composting. I will soon start a large-scale compost site. I value and look forward to your continued advice, tips, suggestions, and directions on composting. Thank you.