
Summer is just around the corner. If you’re anything like us, your garden is in full swing, chock full of seasonal crops to fill your homestead’s food pantry. Pickling cucumbers is a handy skill for any homesteader who enjoys a good sandwich or burger.
Following specific steps when harvesting and pickling cucumbers guarantees they stay crunchy in those canning jars until you’re ready to enjoy them.
In this week’s blog, we explore how to grow and preserve your homestead garden cucumbers while answering:
- What are pickling cucumbers?
- What are the benefits of pickling cucumbers?
- How do you select the perfect cucumbers for pickling?
- How do you prepare pickling cucumbers for canning?
- What are some suggestions for canning techniques?
What are pickling cucumbers?
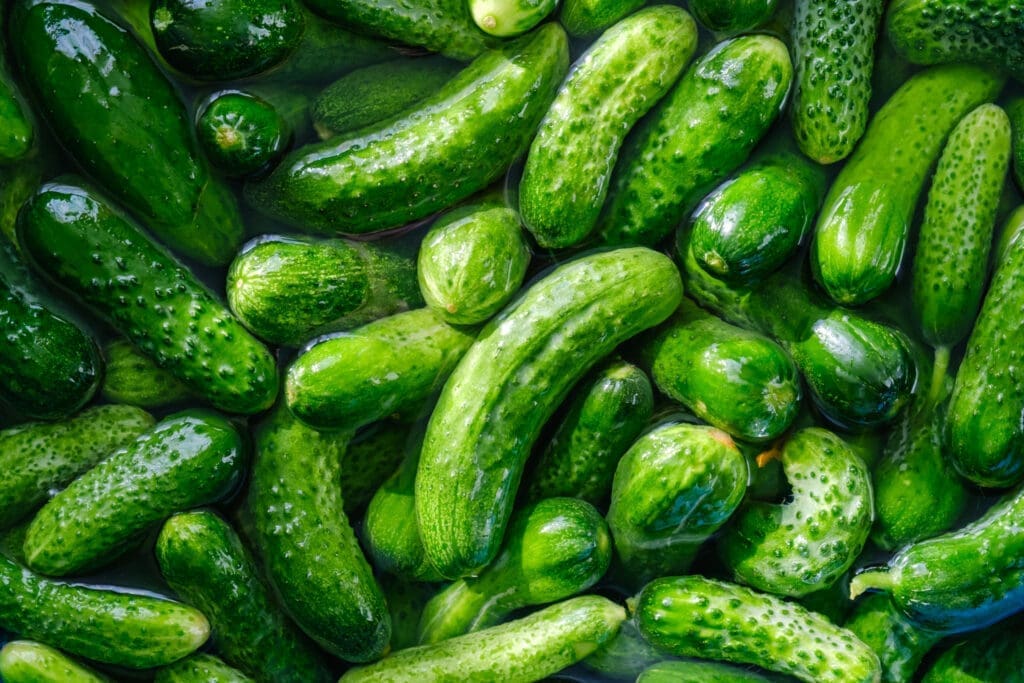
Pickling cucumbers, sometimes called picklers, are a specific variety of cucumbers homesteaders prefer to use for making pickles. While you technically can make pickles from any cucumber, some yield better results than others.
Pickling cucumbers are typically shorter and stubbier than regular cucumbers. They have thinner skin, a crisper texture, and fewer seeds.
The main thing that sets pickling cucumbers apart from regular cucumbers is their ability to retain their crunchiness after undergoing the pickling process. That’s an important feature for anyone who finds soggy pickles gross.
You can grow them in your homestead garden. If you’re missing the green thumb required for harvesting your own, it’s OK. You can find pickling cucumbers in most grocery stores and farmers’ markets, especially during the peak summer months when they’re in season.
What are the benefits of pickling cucumbers?
If the thought of eating a soggy pickle makes you cry, then you really must introduce yourself to pickling cucumbers. These little babies have several benefits that make them the perfect option for making homemade pickles.
Some of the key advantages (besides their superpower of retaining their crunchiness after pickling) include:
- Availability during the summer growing seasons makes this variety of cucumber popular for many reasons. Grow them yourself or find them at your local farmers’ market.
- Fewer seeds make for a better-textured pickle. Even the few seeds it does have are so small they don’t impact the overall texture.
- Flavor absorption properties allow pickling cucumbers to lock in the flavors of the brine, herbs, and spices in your pickling solution.
- Versatility is another perk of pickling cucumbers. You can use them to create a variety of pickle styles, including dill, bread-and-butter, and sweet pickles.
How do you select the perfect cucumbers for pickling?
Selecting the perfect cucumbers for pickling doesn’t have to be difficult if you follow a few rules of thumb. The rules apply slightly differently depending on whether you’ve grown them in your homestead garden or have bought them at a local farmers’ market.
Choose the right stage of maturity
You don’t have much control over this if you choose to buy your pickling cucumbers from a farmers’ market or local store. However, most farmers know how to choose the right stage of maturity before harvesting their crops, so it’s not likely going to be an issue.
If you’ve grown them yourself, you’ll know they’re mature if they feel firm and have a bright green color. Avoid harvesting cucumbers that are yellowish or overripe. They may have a softer texture that lacks the desired crunchiness.
Evaluate the size and shape
Again, you have very little control over this if buying your cucumbers from someone else. If you grow them in your homestead garden, select cucumbers that are 3 to 4 inches long for whole pickles.
Prefer spears or slices when pickling? You’ll want slightly longer cucumbers. Aim for uniformity in size to ensure even pickling and an appealing final presentation.
Opt for fresh and firm
Whether you grow them yourself or buy them, you want to select pickling cucumbers that are fresh and firm. To check for firmness, gently squeeze cucumbers. If you feel any soft or mushy spots, don’t use them. They’ll lose their crunchiness during the pickling process.
As mentioned earlier, fresh cucumbers have a bright green color and no signs of wilting or yellowing.
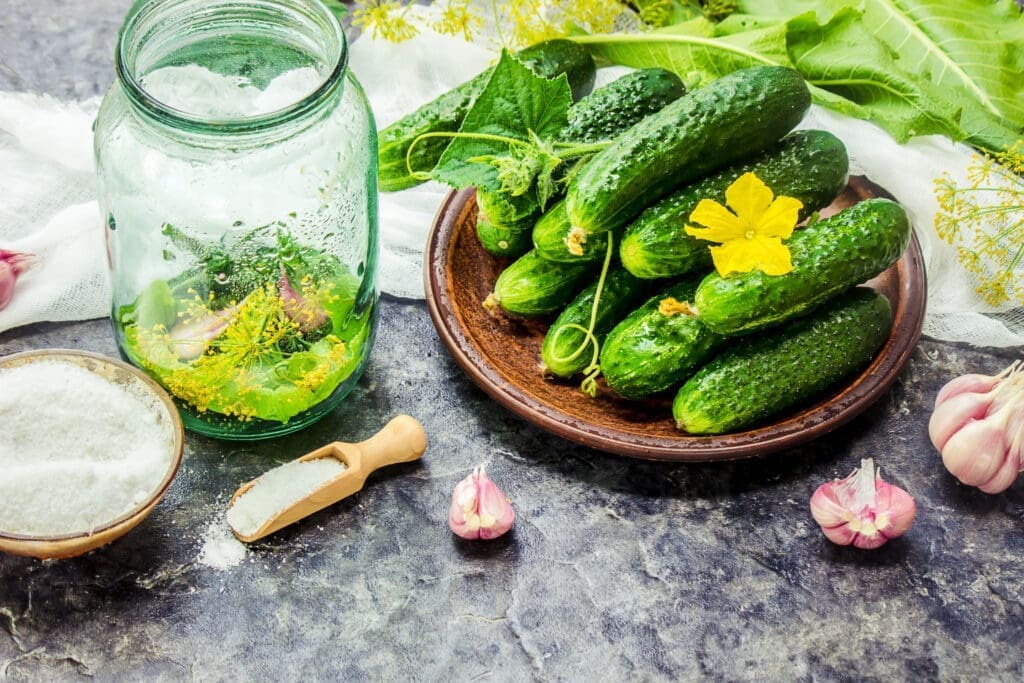
How do you prepare pickling cucumbers for canning?
The most important part of preparing pickling cucumbers for canning is to ensure they’re clean and free from any blemishes. Follow this step-by-step guide for the best results.
- Step 1 – wash the cucumbers. Give them a thorough wash under cool running water. Use a vegetable brush to gently scrub them, removing any dirt or debris from the skin. Never use any chemical washes. They can affect the final flavor of your pickles.
- Step 2 – remove the blossom ends and the stem. Blossom ends contain enzymes that make pickles soft. Stems also can influence their texture, so be sure to remove it as well.
- Step 3 – choose your slicing style. Decide how you want to slice your pickles. You can leave them whole or opt for spears or slices.
- Step 4 – soak in ice water. This is an optional step that ensures extra crispy pickles. If you decide to do it, soak them for 1 to 2 hours before pickling.
- Step 5 – pat dry. After slicing or soaking, gently pat the cucumber slices or spears and dry them with a clean kitchen towel or paper towel.
Now, they are ready to be packed into canning jars and processed for pickling using your favorite recipe. Some recipes have specific preparation directions. If they differ from what’s suggested here, defer to the recipe’s instructions.

What are some suggestions for canning techniques?
There are a few options for canning techniques when working with pickling cucumbers. Some recipes may call for a specific process, so be sure to consult your pickling recipe before trying any of these suggestions to make sure they won’t ruin your pickles.
Option 1 – Water Bath Canning
Water bath canning is a common method for canning pickles. It requires you to submerge filled and sealed jars of pickles in a boiling water bath. The heat from the boiling water creates a vacuum seal, preserving the pickles and preventing spoilage.
Water bath canning works well with high-acid foods like pickles.
Option 2 – Pressure Canning
Pressure canning is another option for pickling cucumbers. If your recipe calls for less vinegar or acidic ingredients, this may work better than water bath canning.
Pressure canning uses a specialized pressure canner to heat jars and reaches higher temperatures necessary for safe preservation. It’s crucial you follow the instructions for use to the letter to ensure food safety.
Option 3 – Refrigerator Pickles
Refrigerator pickles are a quick and easy way to enjoy pickling cucumbers. Instead of processing them for long-term storage, you process them and refrigerate them. They’ll have a shorter shelf life than water-bathed or pressure-cooked pickles. You must eat them within a few weeks.
What is the Best Time to Start Pickling Cucumbers for the Healthiest Results?
The best time to start pickling cucumbers for the healthiest results is when they are fully grown but still firm and crunchy. This usually occurs in late summer or early fall. Following healthy jersey cattle tips for preserving and pickling will ensure the best flavor and nutritional value for your cucumbers.
Enjoy pickling cucumbers on your homestead
If you’re gardening on your homestead, it’s the perfect opportunity to plant pickling cucumbers. A popular summer vegetable, you can use them to create the crispest pickles you’ve ever eaten. They make a great addition to any sandwich or eaten alone as a healthy snack.
Have a favorite pickling recipe? We’d love it if you shared it in the comments.

Popular Articles


Newsletter
Get signed up to get latest updates and new information from the Jersey Milk Cow!

Leave a Reply