Jersey Cow Milking 101: Follow These 6 Tips for a Smoother Milking Process
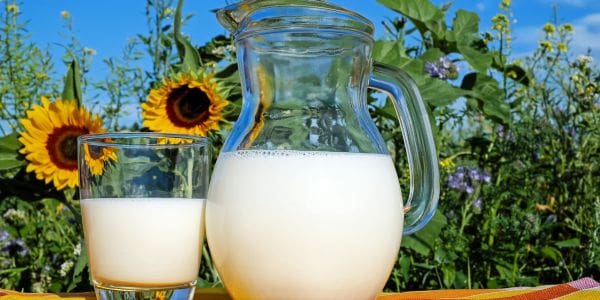
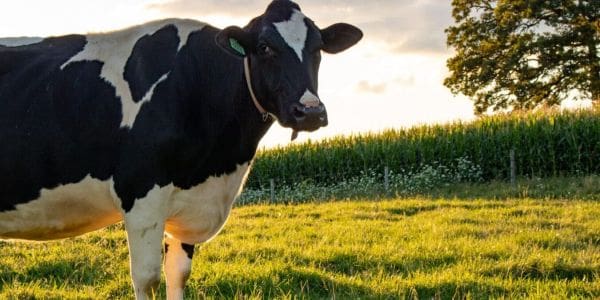
Jersey cow milking…sound intimidating? Well, it doesn’t have to be. Why would you want to purchase your own small farm dairy cow and begin milking? Well, there is nothing quite like the taste of fresh raw Jersey cow milk and the experience of harvesting it yourself. Self-reliance is contagious. Whether you drink it straight from the glass or churn it into a super creamy butter or cheese, there is no wrong way to enjoy it. Jersey cows produce milk with the highest percentage of butterfat and can crank out up to 6 gallons of milk daily.
Access to an ample supply is not the only benefit of consuming raw A2 milk. Raw milk boosts bone health since it is packed with nutrients and high levels of Vitamins C and D. It also is high in protein, which our bodies need to perform vital functions.
Before you can enjoy all the perks that come with consuming raw A2 milk, you must get the milk out of your Jersey cow. Cow milking does not have to be a painful experience for you or your cow. Following these six steps will help make the milking process more successful.
Getting the milking stall ready
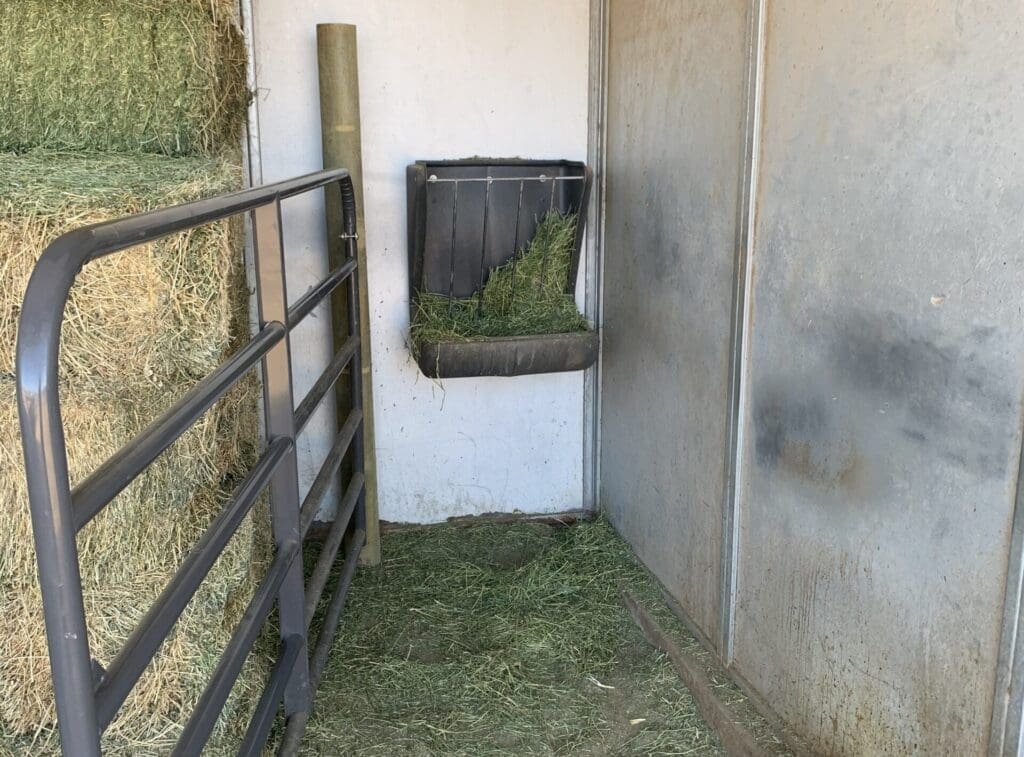
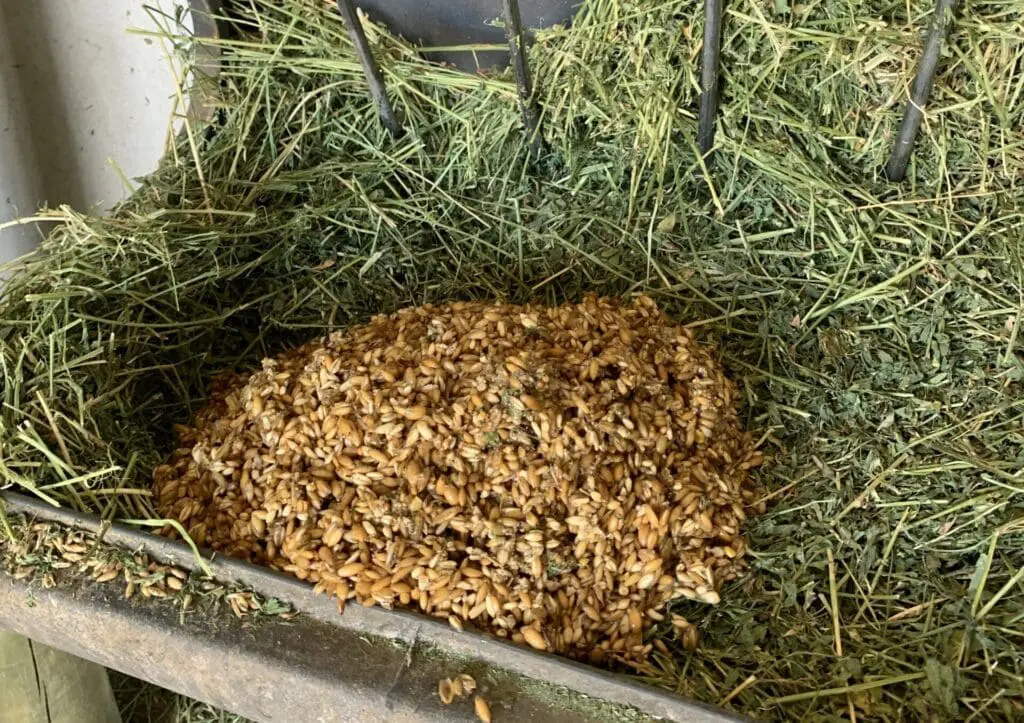
Before you can milk, you must get your Jersey cow ready for milking. This includes the physical preparation of the stall and all equipment needed, plus steps to ensure your cow is ready to yield milk. We like to give our Jersey fermented barley. Fermentation helps break down the folic acid and is easier for the cow to digest. We put probiotics and minerals in a 5-gallon bucket and fill it with warm water. We let it sit over night to begin fermenting and then use throughout the week as needed. We give her about three large scoops and she LOVES it.
Setting up the machine
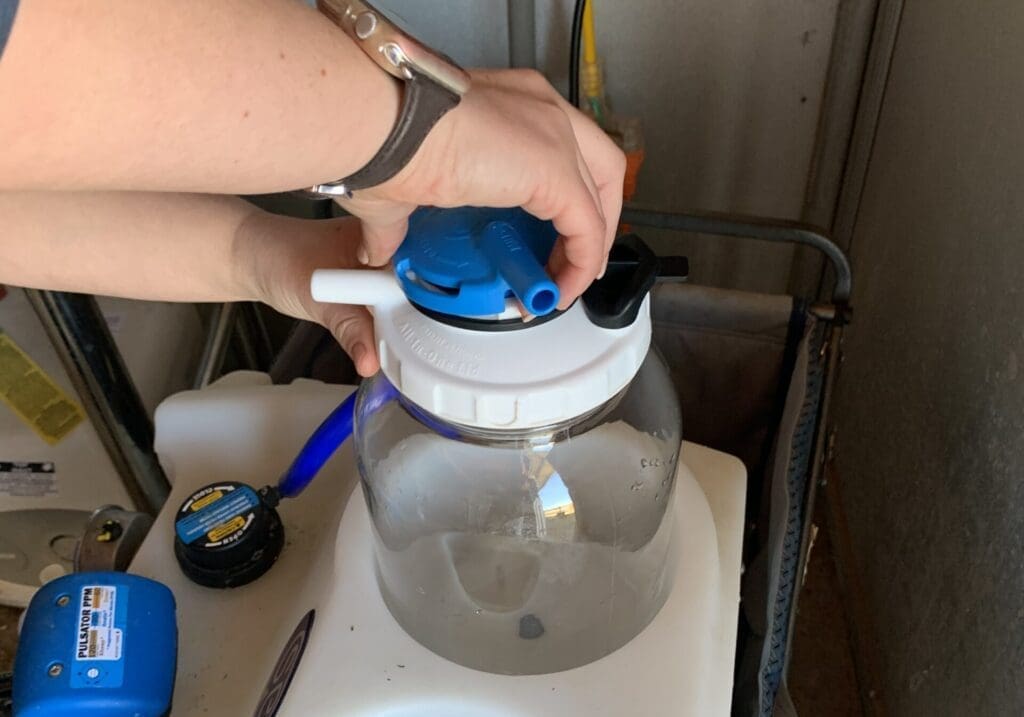
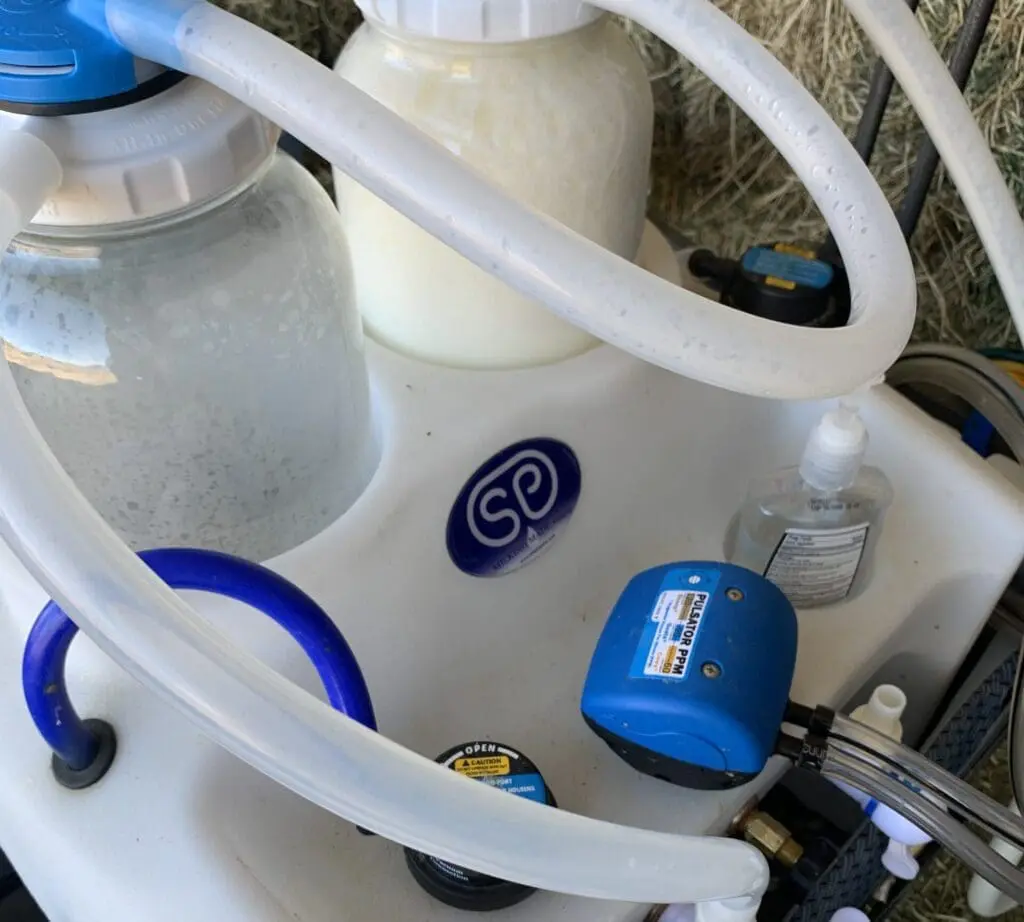
We use the Simple Pulse Basic Milking System for our Jersey cow. It is simple to set up and easy to use. It is more efficient than milking by hand. It does the hard work for you. A huge plus is Jesse and Cristen Sullivan (the owners and creators of the SP System) are amazing individuals. They truly want the best for your animals and will answer any questions you may have. If you choose an SP Basic Milking System, there are instructional video links on their website for everything from basic operation instructions to the best way to clean and sterilize it after each use. The following steps are involved with setting up the machine:
- Turn on the vacuum pump
- Attach the hose from your tank to one of your jars
- Attach the hose on your milking lines to the same jar
- Once the hoses are attached, the pulsator will start clicking
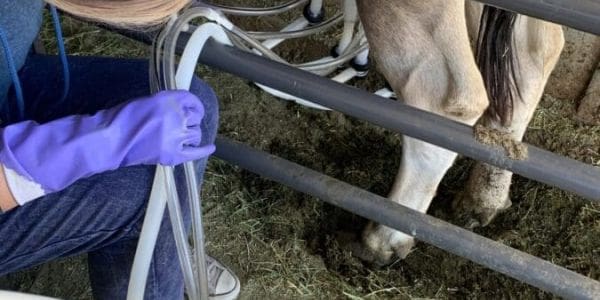
- Attach the lines to the teats and start milking
Prepping your Jersey cow for milking
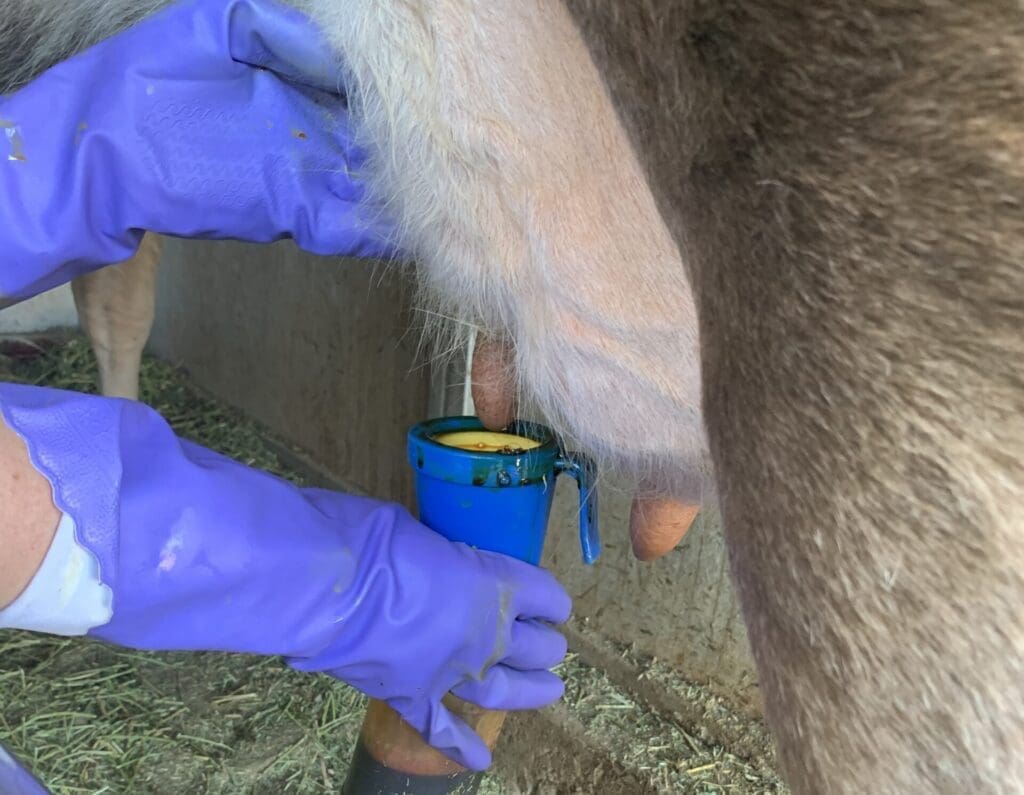
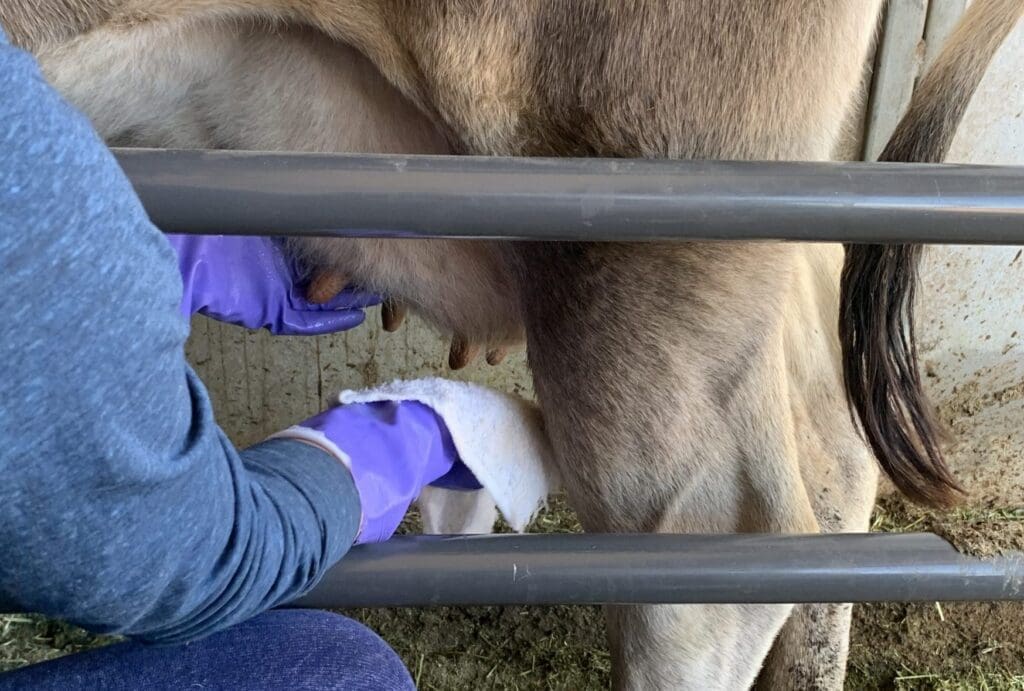
When we prep our Jersey cow for milking, we stress the importance of cleanliness. When raw A2 milk is processed correctly, the benefits are numerous. We use a multiple-step process before we milk our Jersey. We wash her teats with warm water with diluted dish soap to remove all the dirt. Then we express each teat five times into a lid to inspect the milk. If all looks good at this point, we liberally teat dip each teat, making sure the solution gets on the bottom of the udder. Then we dry her udder and teats with a clean towel. We only use one corner of the towel for each teat to prevent cross-contamination. Our milk is tested by Udder Health Labs in Idaho to ensure its safety before consumption.
Hooking up the machine
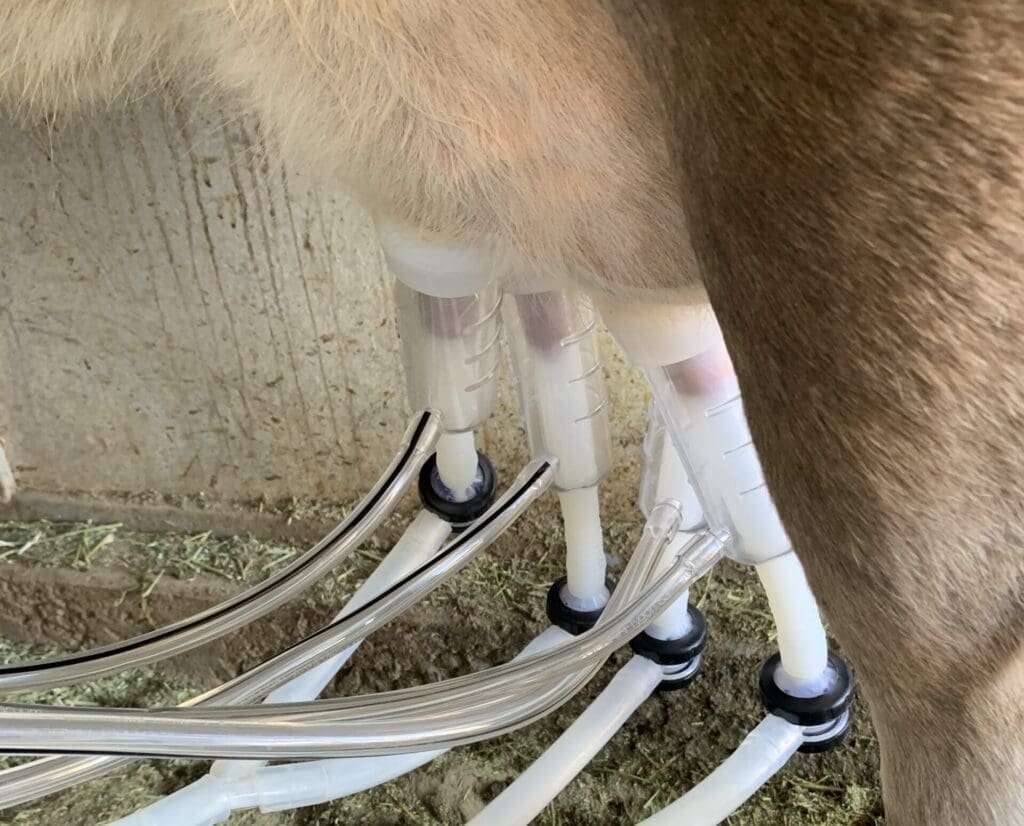
As previously mentioned, there are instructional videos on the Simple Pulse website that help with hooking up your machine. The most important part of hooking up the machine is making sure there is pressure. The machine automatically filters based on filter inserts on top of the lids, which saves you a step in the milking process. You will want to closely monitor the regulator to ensure it is achieving the desired reading for pumping. If it is too high or too low, you may need to adjust it. When the milk stops flowing, you can massage the udder to make sure all the milk is out. If no more milk is coming out after that, then break the suction of the lines to the cow’s teats. Press the buttons on the bottom of the suction lines to clear all milk from the lines and push it into the jar.
Processing raw milk
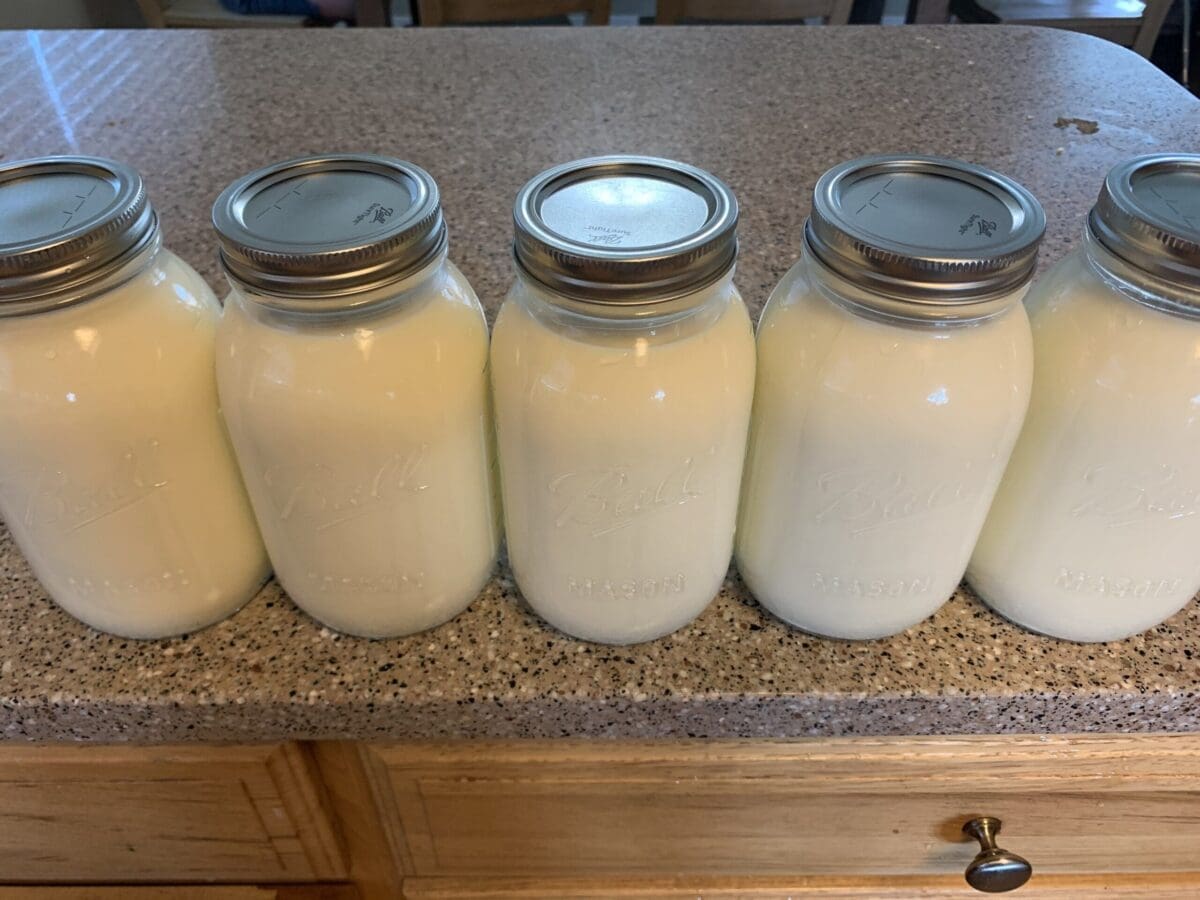
We double wash our jars with sanitizing solution and hot water. Then we pour milk into the jars and seal and date them. Filtering is not necessary because the filters already are added to the lids of the SP Basic Milking System. Your cow’s milk is automatically filtered during milking, saving you time by eliminating this step later.
Cleaning your milking supplies
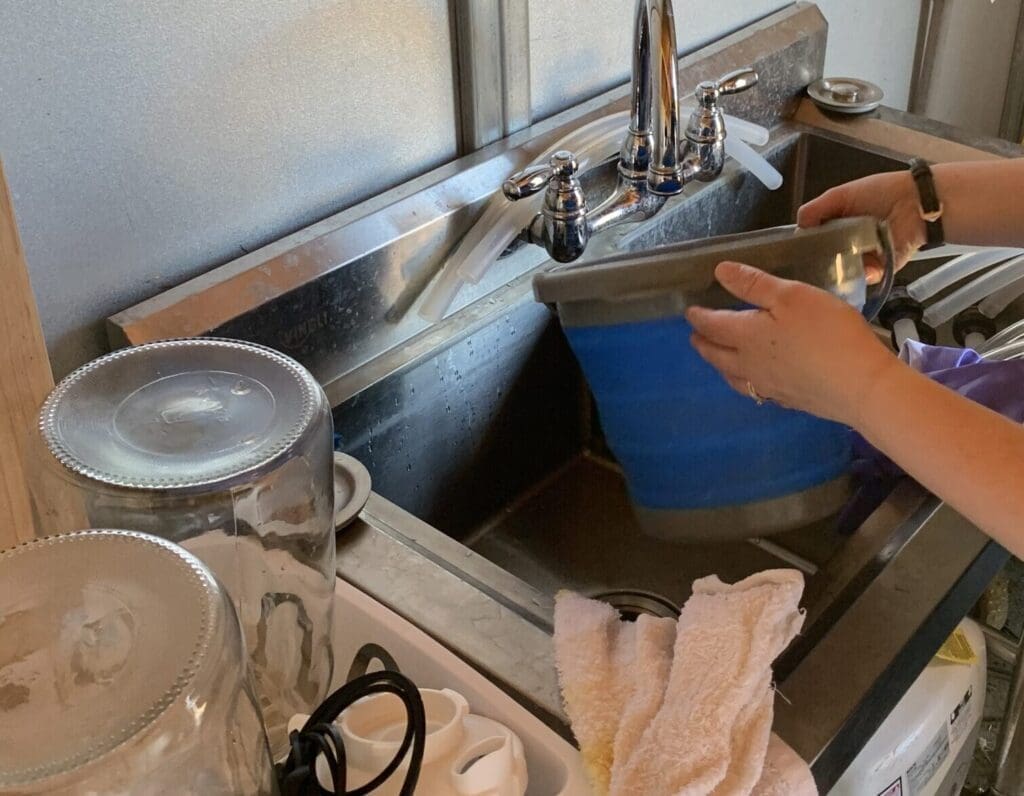
The first thing we do after milking is to wash our equipment in a warm, soapy solution. We follow that up with a hot sanitizing solution. We use either a small amount of bleach or hydrogen peroxide.
Following these six steps ensures the milking process is efficient and safe. Learn more helpful tips about raising your Jersey cow by subscribing to our blog.
In our kitchen, we only use cultures from Cultures for Health.
Get yours here and start culturing today.
Popular Articles
Jersey Cow Milking 101: Follow These 6 Tips for a Smoother Milking Process
Newsletter
Get signed up to get latest updates and new information from the Jersey Milk Cow!
Comments (6)
Leave a Reply Cancel reply
This site uses Akismet to reduce spam. Learn how your comment data is processed.





Hi! I’m wondering, how long does this process take each day from start to end (not including getting the fermented barley ready)? And, how does that compare to how long it takes if you were to milk by hand? I know every cow is different, so just looking for a rough idea…
Thank you!
Hi Joy!
Sorry for the delay.
Hands down… milking by hand is WAY longer. If i didn’t get a machine, I probably would have sold my cows. My hands hurt, I woke up each morning with swollen fingers…it just wasn’t a pleasant experience. For me, it took about 1.5 – hours to milk by hand including washing and processing.
With my amazing machine, it takes me 30 minutes for all of it… including feeding.
Hi Kelsey! What is the ratio you use for fermenting your barley? Minerals, barley, probiotics.
My Jersey just had her first calf, will she need to be milked? We are going to let her raise her calf too.
Hi! Yes, she will need to be milked. We are proponents of separating the calf and bottle feeding so we can control how much milk the calf consumes. Too much and the calf can become sick. So we like to monitor it.
But yes, if you will be sharing, the calf will only be able to drink so much. You don’t want your girl to get mastitis.
Congratulations!
Thank you sharing your information. How often do you have to milk the cow, and is that everyday? What happens if you don’t milk them everyday? What kind of machine do you use? Thanks again