Canning Lids to Canning Jars: Canning 101
Canning lids are just one important component of preserving the food you grow on your homestead. The age-old method of canning continues to gain in popularity as more homesteaders work to become self-sufficient.
Whether you’re an experienced canner or new to the process, canning is an effective way to extend the shelf life of your favorite homegrown foods.
In this blog, we explore the art of canning and share tips and tricks for successful preservation, including:
- Can you reuse canning lids?
- What are the hidden dangers of reusing canning lids?
- What’s the best method for reusing canning lids?
- What are some of the top mistakes to avoid when canning?
- How full should my canner be when canning?
- How long does canned food last?
- What is the best place to find canning supplies?
Can you reuse canning lids?
Can you reuse canning lids? Technically, yes.
Should you reuse canning lids? That depends.
Canning enthusiasts have debated this topic for almost as long as canning has existed. While there are some who believe that lids can be safely reused with no ill effects, most food preservation experts advise against it.
There are two parts to canning lids that work together to seal your food safely inside the canning jar. First, is the metal disk that sits on top of the opening. Second, is the band that screws down over the disk.
You can reuse the bands unless they become bent, dented, or rusty. Reusing the disks is riskier if you don’t follow some basic safety precautions.
What are the hidden dangers of reusing canning lids?
The biggest danger of reusing canning lids is they might not seal properly. Without a good seal, your food can spoil quickly. Not only does that mean all your hard work growing it was wasted, but also the time you spent following a recipe for canning it.
False seals are one of the hidden dangers of canning, whether you try to reuse lids or not. Failing to follow the recipe correctly can lead to a false seal. Overfilling or underfilling your canning jar can also cause it not to seal properly.
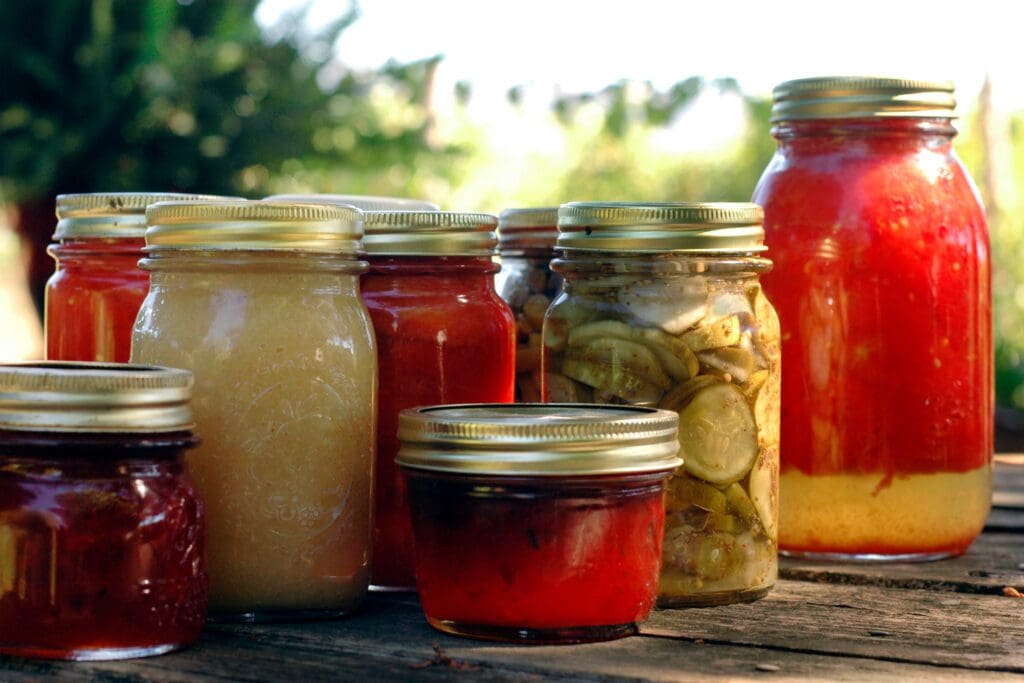
The good news is you can usually tell right away if a can sealed. Tap the lid with the bottom of a teaspoon. If you hear a dull sound, the lid likely didn’t seal. Canning lids that have a good seal make a high-pitched ringing sound.
What’s the best method for reusing canning lids?
If you must reuse your canning lids, follow some basic safety guidelines to increase the chances of avoiding a false seal.
- Check the lid for dents and nicks. Lids that are dented or nicked can’t properly grip the lip of the jar, making a true seal impossible. Sometimes people tap the rims of canned jars to loosen the seal. Doing so creates small knicks and dings in the disk, preventing it from resealing properly again.
- Inspect the sealing compound. Located at the bottom of the canning lid disk, the sealing compound is what helps the disk form a tight bond with the glass rim of your canning jar. If any of it has peeled away, the lid is unsafe to reuse.
Knowing when to reuse lids
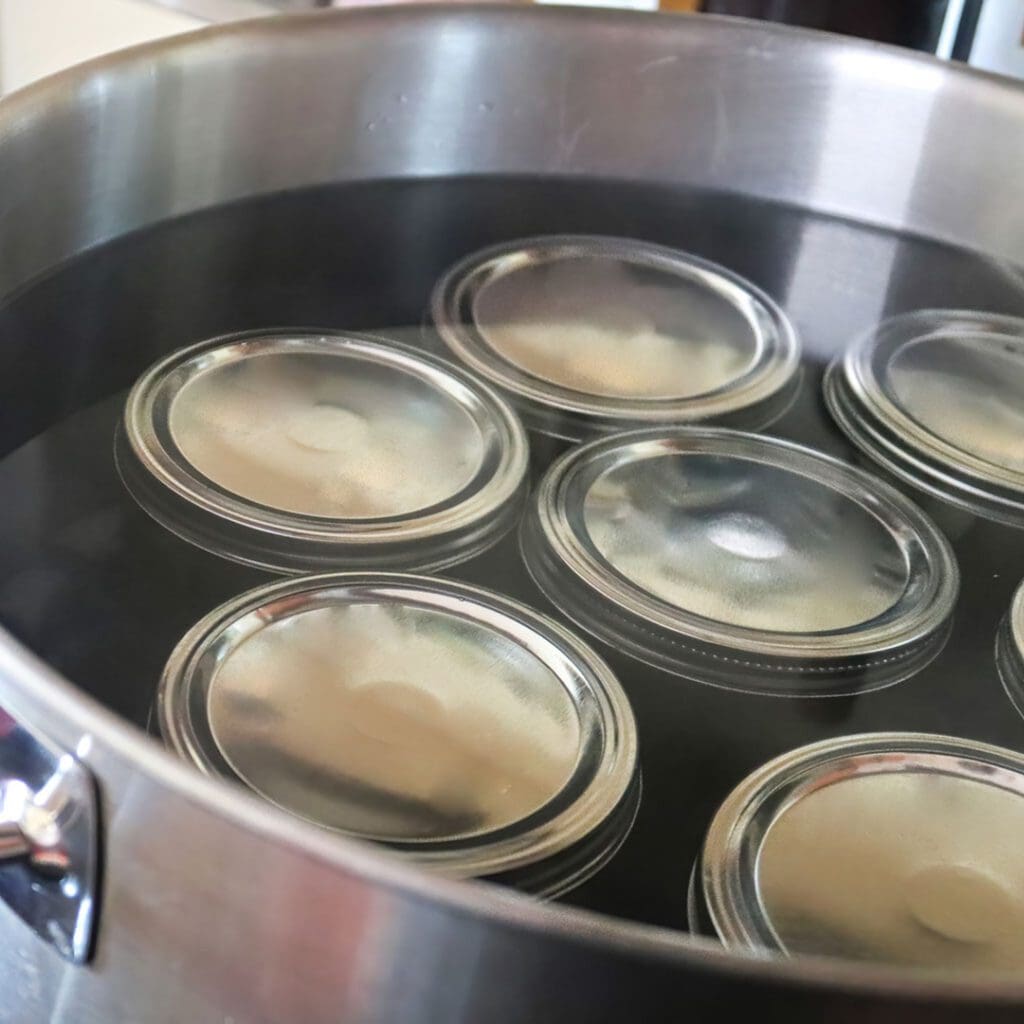
Water-bath canning is the best opportunity for reusing your canning lids. The higher temperatures involved with pressure canning can break down the sealing compound, increasing the likelihood of a false seal. Water bath canning eliminates that risk by using lower temperatures during the canning process.
What are some of the top mistakes to avoid when canning?
Canning food from your homestead garden can preserve it for later. However, it’s important to be mindful of some common mistakes that can compromise the safety and quality of your canned food.
- Neglecting to sanitize your jars. The first crucial step in canning is to properly sanitize your jars to prevent the growth of harmful bacteria. Failing to do so increases the chances of bacteria spoiling your canned goods and making you sick when you eat them.
- Overfilling or underfilling your jars. Leaving the appropriate amount of headspace for expansion during processing is a crucial part of achieving a tight seal. One of the most common mistakes, especially for homesteaders new to canning, is misjudging how much headspace is needed.
- Failing to follow recommended processing methods. Different types of foods require different processing times and methods. If you ignore recommended guidelines, your canned goods can end up contaminated and spoiled.
- Using untested recipes. If you’re a canning pro, you might be able to use untested recipes – or substitute ingredients – when preserving your homegrown food. However, even the pros can make mistakes, leading to food that’s compromised. It’s best to follow canning recipes specifically designed and tested for the type of food you’re preserving for the best results.
How full should my canner be when canning?
Consider the type of canning method you’re using when figuring out how full to fill your canner. Follow these tips for the best results.
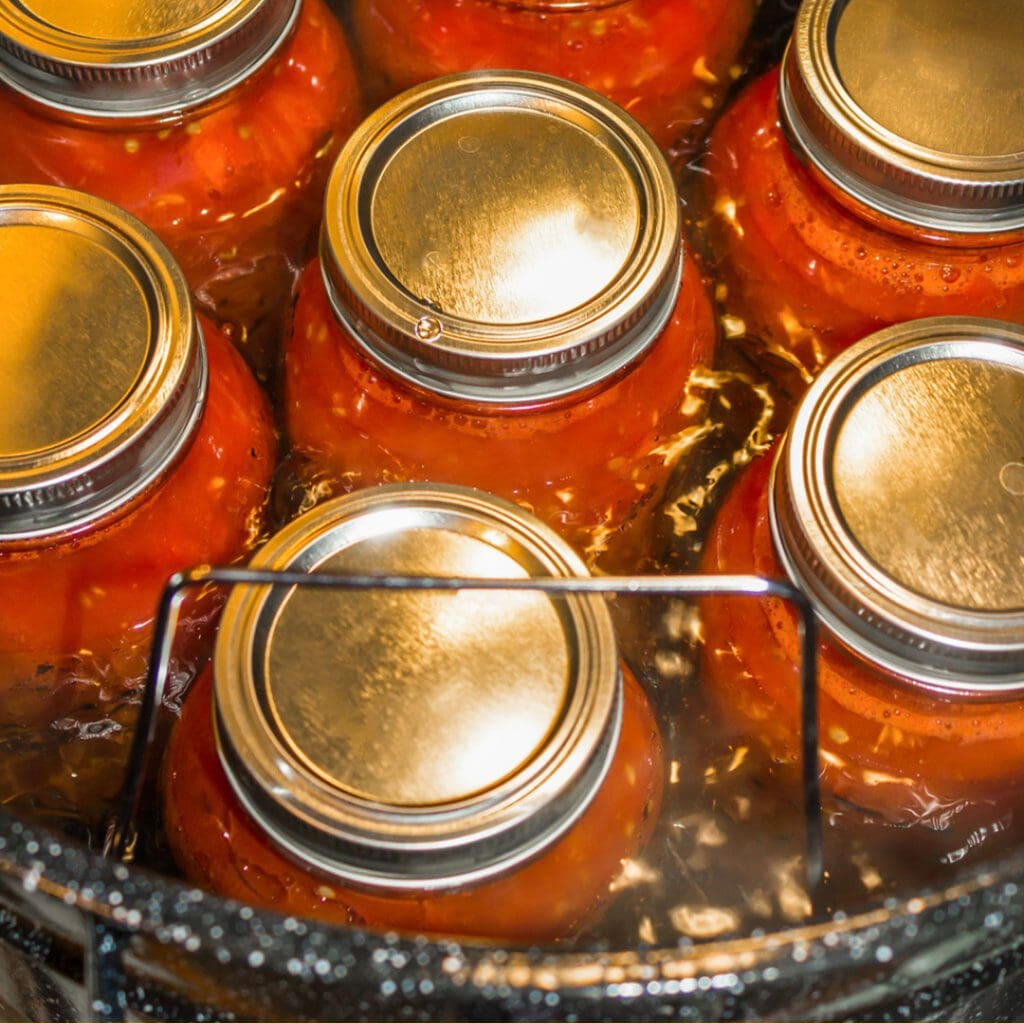
When pressure canning, aim to fill the canner with the appropriate amount of water according to the manufacturer’s instructions. Then, put canning jars filled with the food you want to preserve into the canner. Don’t forget to leave the recommended amount of head space for a tight seal.
Most pressure canners suggest starting with 2 to 3 inches of water inside the empty canner. After you add your jars, the water gets displaced about ¾ up the jar depending on its size. Make sure the necks of the jars are above the water for the best results.
If you’re using a water bath canner, you want your canning jars completely submerged. To make sure you achieve full submersion, fill your water bath canner about halfway full of water before adding your jars. If you find you’re short of water after adding your jars, you can make up the difference by adding boiling water to the canner until your jars are fully submerged.
How long does canned food last?
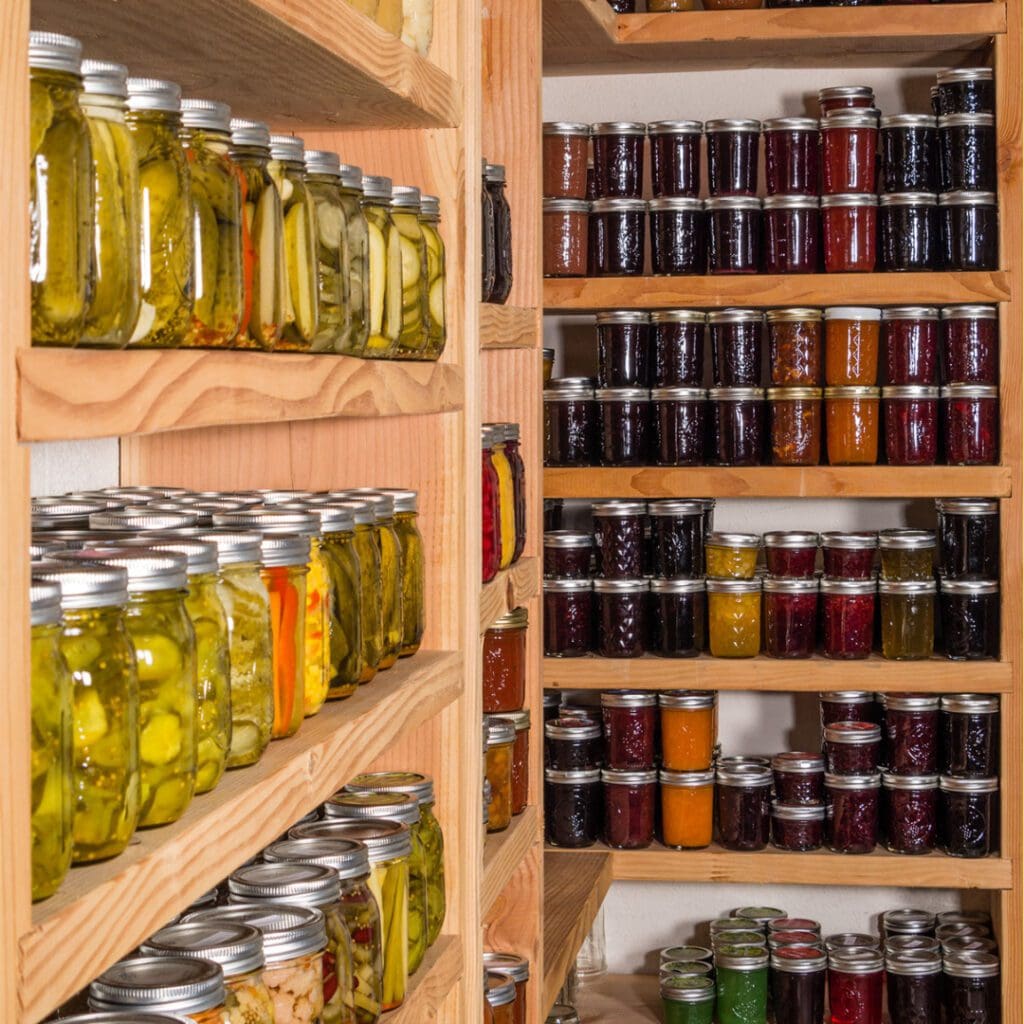
Most experienced canners recommend eating your canned goods within a year of the date you sealed and stored them. At most, you can extend the consumption time to 2 years.
The food inside may still technically be safe to consume after 2 years, but it won’t taste as good. That’s because home canned food loses nutrient density, which affects its texture. While it’s not going to make you sick if you eat it, you probably won’t want to eat it if the flavor is “off.”
Ideally, you should only can as much food as you and your family can eat in the off-season to prevent food wastage. And, before you eat anything you’ve canned from the previous canning season, check the seal to make sure it wasn’t compromised.
What is the best place to find canning supplies?
Canning is popular enough that you can find canning supplies in hardware stores, specialty kitchen supply stores, online retailers, and at big-box stores like Walmart.
Regardless of where you get your canning supplies, check the jars and rings of the lids each year before reusing them. Look for knicks in the glass around the jar’s rim, and for dents, knicks, or rust on the rings.
Sources
- Cooling Jars and Testing Jar Seals. nchfp.uga.edu. Accessed March 17, 2023.
- Frequently Asked Canning Questions. nchfp.uga.edu. Accessed March 17, 2023.
- Frequent Canned Food Use is Positively Associated with Nutrient-Dense Food Group Consumption and Higher Nutrient Intakes in U.S. Children and Adults. ncbi.nlm.nih.gov. Accessed March 17, 2023.
- Watch the Headspace. clemson.edu. Accessed March 17, 2023.
- Water Bath Canning. ballmasonjars.com. Accessed March 17, 2023.
In our kitchen, we only use cultures from Cultures for Health.
Get yours here and start culturing today.
Popular Articles
Newsletter
Get signed up to get latest updates and new information from the Jersey Milk Cow!
This site uses Akismet to reduce spam. Learn how your comment data is processed.





Leave a Reply